Start with the activity, not a standard setup
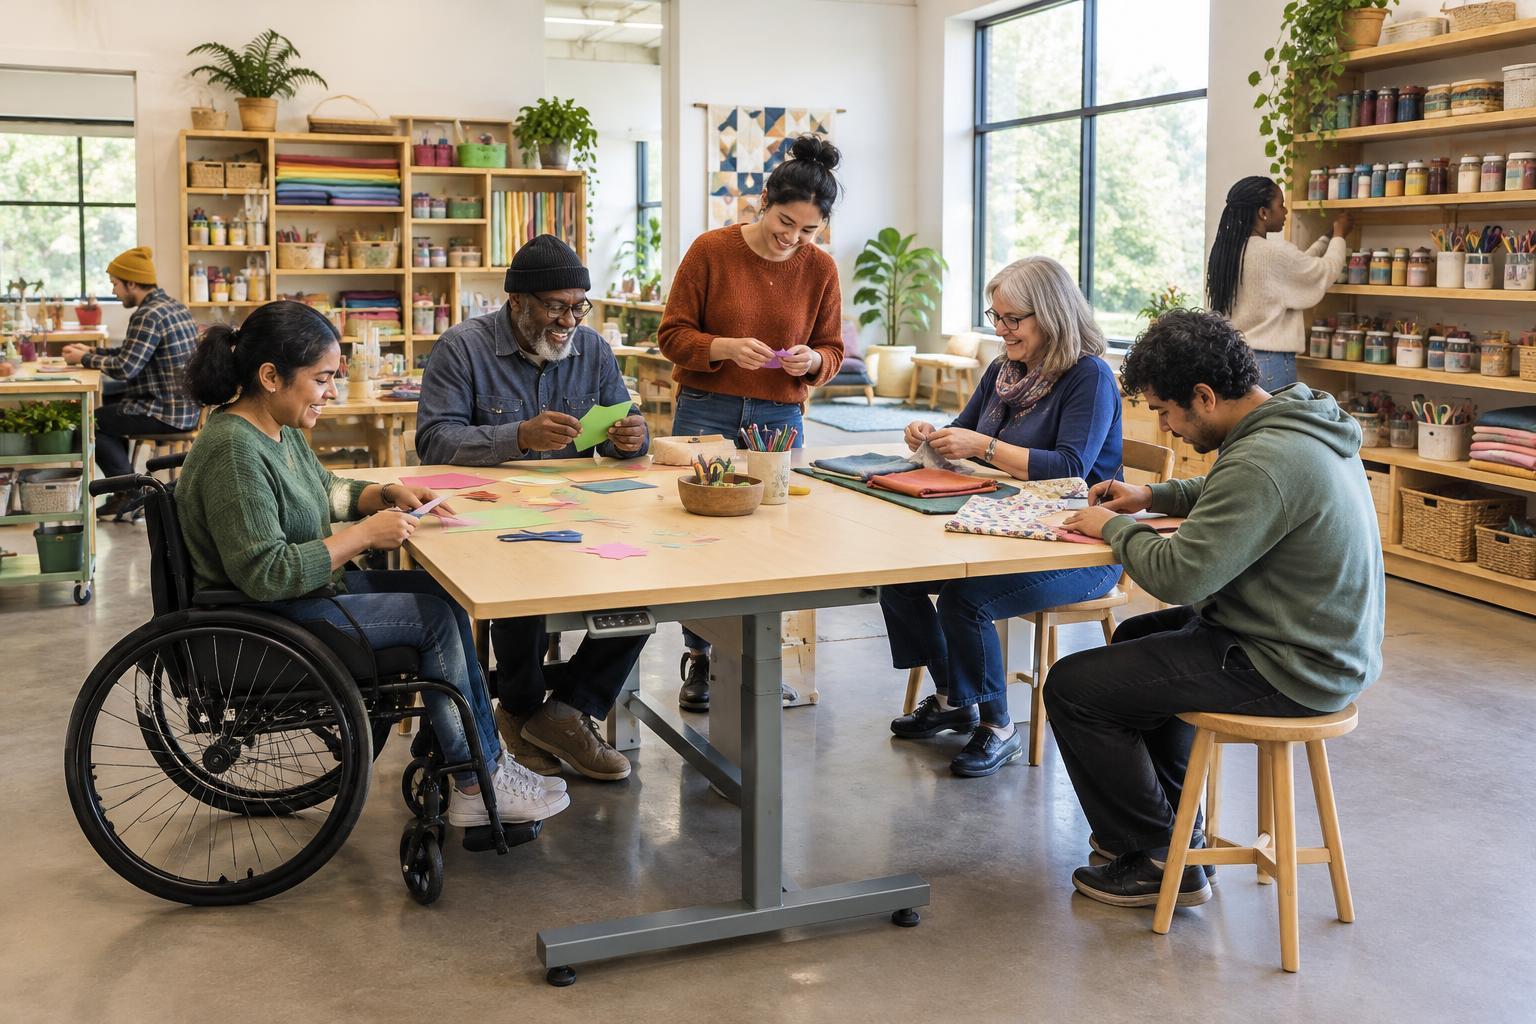
A shared craft space might host sewing, paper crafts, painting or a mix of activities. Before arranging the room, follow what a participant would need to do: arrive, find materials, choose a place to work, use tools, move a project aside and clean up. This sequence can reveal barriers that are easy to miss when looking at furniture alone. A supply shelf may be tidy, for example, but difficult to use if people must reach over a worktable to get to it.
Keep a clear route between the entrance, work areas, supplies and any sink or waste bins. Leave room for someone to approach a table from a direction that suits them, rather than filling every edge with chairs. If the space serves different groups, lightweight furniture can help it adapt. A predictable basic layout is still valuable: people should not have to relearn where essential items are every time they visit.
Make materials easy to find and handle
Store frequently used materials where people can see and reach them without help. Put heavier boxes where they can be lifted comfortably rather than high overhead or close to the floor. Clear labels can combine words with simple descriptions of contents, such as “large paper” or “fabric pieces.” Consistent locations matter as much as labels, particularly when a project involves several supplies.
Offer a small range of tools when possible. Larger-handled scissors, clips instead of pins, or containers that are easy to open may make an activity more comfortable for some people, but no single alternative suits everyone. Let participants choose rather than assigning a tool based on an assumption about their abilities. Keep sharp tools and substances that need careful handling clearly identified and stored with the needs of the group in mind.
Offer more than one way to follow along
Craft demonstrations can move quickly, especially when a technique is familiar to the person leading them. Break an activity into short steps and show the result of each step before moving on. Written instructions in readable type can sit beside a sample object, so participants can check their place without interrupting. Describe important movements aloud while demonstrating them, and avoid relying only on gestures such as “fold it like this.”
For a group exploring fabric projects, it may help to offer a simple practice piece before anyone commits to a larger design. People who want to explore foundational techniques can browse Quilting Basics · Quilt and Stitch Journal for further ideas at their own pace. The point is not to make everyone follow the same learning path, but to give newcomers a way in while leaving room for experienced makers to experiment.
Build flexibility into participation
A welcoming activity allows different ways to contribute. Someone might prefer cutting materials, choosing colors, arranging pieces, assembling a project or documenting the steps. These are all meaningful parts of making. If the goal is a shared finished object, explain that goal while letting people choose roles and switch between them. Avoid treating the fastest or most technically demanding task as the most valuable one.
Plan for pauses as part of the activity rather than as an exception. A nearby place to set down unfinished work makes it easier to rest or step away without losing progress. Where practical, offer a quieter spot for tasks requiring concentration. Ask participants before moving their materials or helping with a technique; an offer of assistance is more welcoming when the person can decline it.
Keep improving the space with its users
The first arrangement is a starting point, not a finished solution. After a session, notice where people gathered, which supplies were hard to locate and whether anyone had to wait for a usable workspace. Invite specific feedback: “Was there a tool you wished you could reach more easily?” may reveal more than a general question about whether the room was accessible.
Make small adjustments, then see whether they help in practice. Moving a bin, adding a second copy of instructions or creating a dedicated spot for work in progress may make a noticeable difference without changing the whole room. Inclusive design is most useful when the space can respond to the people and activities it actually hosts.